Kevin Lerwill of the Gatwick Greenspace Partnership has sent us an interesting article about a recent overnight camp in a wood near Rusper. Their aim is to conserve and enhance the Sussex landscape, its wildlife and habitats and inspire people to care about their natural environment to help safeguard the county for future generations.
Gatwick greenspace is part of the Sussex Wildlife Trust, you will find them on Facebook and Twitter. To join follow this link
You really can’t beat a day or two in the woods to recharge the mental batteries and escape from the pressures that we all face day to day…On a recent “overnighter” at Orlton’s Copse, near Rusper, West Sussex, a small group of us did just that…
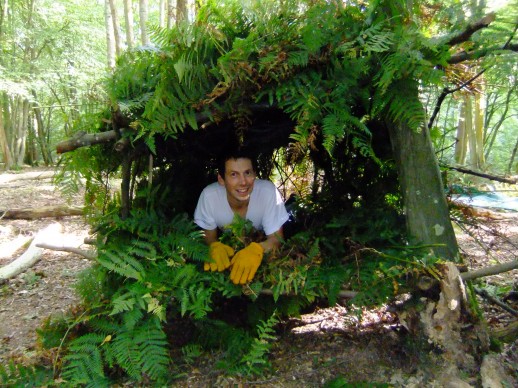
After setting up the shelters, using Hornbeam logs and poles from last Winter’s thinning operations, the insulation and roofing was provided by a dense layer of Bracken from the nearby clearing. Showers had been forecast for that night, so we made sure that the Bracken was piled on to provide a layer several inches thick…with no gaps!
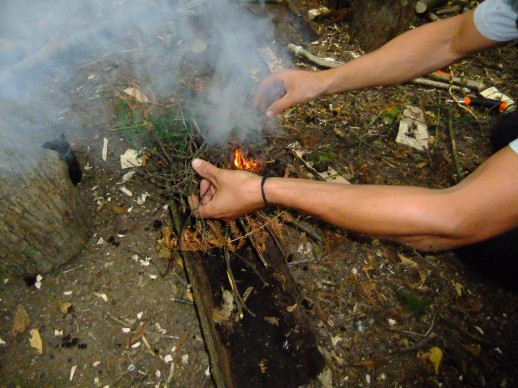
The next priority was to get the camp fire going…but we were going to try the traditional “Fire bow” method instead of a lighter, which, although it would have been a lot easier and quicker, would not have been such a satisfying achievement. Plus a few of us had not tried this before, so it was a good opportunity to learn a new/old skill!
The components we used were as follows (although there are many other kinds of wood that are just as good, if not better, but we used what was available to us)…
A Hazel bow, with cord, a Hornbeam drill, a Hazel hearth, a Hornbeam ember pan and a Hornbeam bearing block. The basic premise is that a hardwood drill rotated rapidly on a softwood base (hearth) will gradually produce a fine wood-dust powder and then an ember. All the components must be dry and not rotten.
Gouge a small area at one end of the hearth. Shape the drill evenly at both ends, so that a rounded end fits into the hearth and a slightly more pointed end fits into the bearing block. In a kneeling position, you then need to wind the bowstring once around the drill and move the bow backwards and forwards, keeping the drill upright and exerting downward pressure onto the bearing block.
After several false starts (this needs patience), you should begin to get a steady rhythm going and begin to see dark wood powder forming as a result of the friction…You then need to cut a narrow “V” shaped notch out of one side of your hearth, so that this powder collects and drops onto your ember pan.
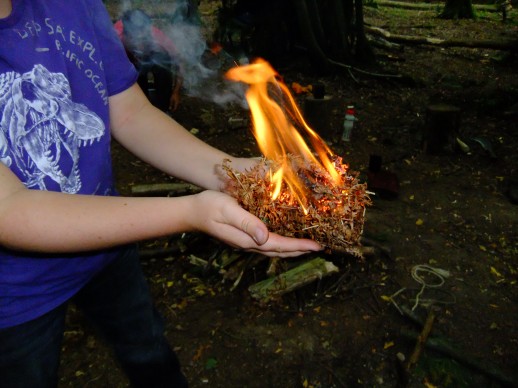
Finally, you should form an ember large enough, which will glow as it receives oxygen…this ember can be (carefully) transferred to a pre-gathered ball of dried grass (or other suitable tinder material). You then need to coax the ember into life by alternately blowing on it and covering it until smoke starts to emerge…a few more breaths and you should have flames…which you can then transfer to your cooking area.
There are variations on this technique, which are just as good and you might want to experiment yourself to find a way that suits you best…By trying different woods, you will also get different results each time. The final thing to do is to get your campfire kettle on the go and then decide who is going to cook the next meal! Believe me, it’s a great sense of achievement the first time you get flames from a few bits of wood, but it doesn’t come easy and it takes considerable effort, so try not to be too disappointed if it doesn’t work first time…Good luck!


